Published on July 9, 2024


 California Auto Rental
Today 05:41
California Auto Rental
Today 05:41

 Declan
Friday 07:08
Declan
Friday 07:08
 travishead
Friday 06:23
travishead
Friday 06:23
 SportBiz
Friday 06:04
SportBiz
Friday 06:04
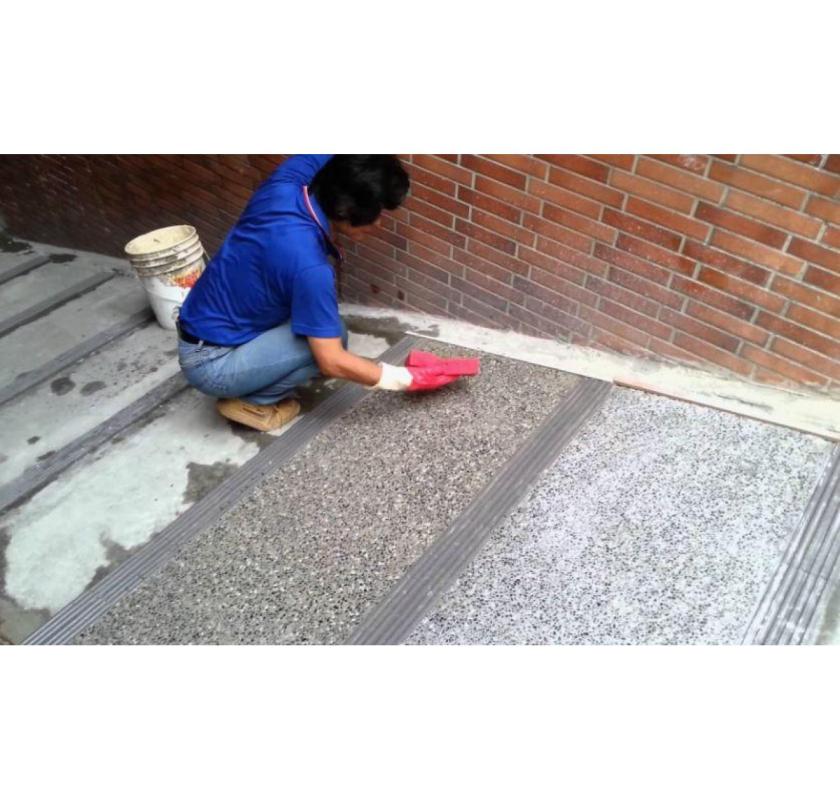
 J & R Rendering
Friday 03:51
J & R Rendering
Friday 03:51
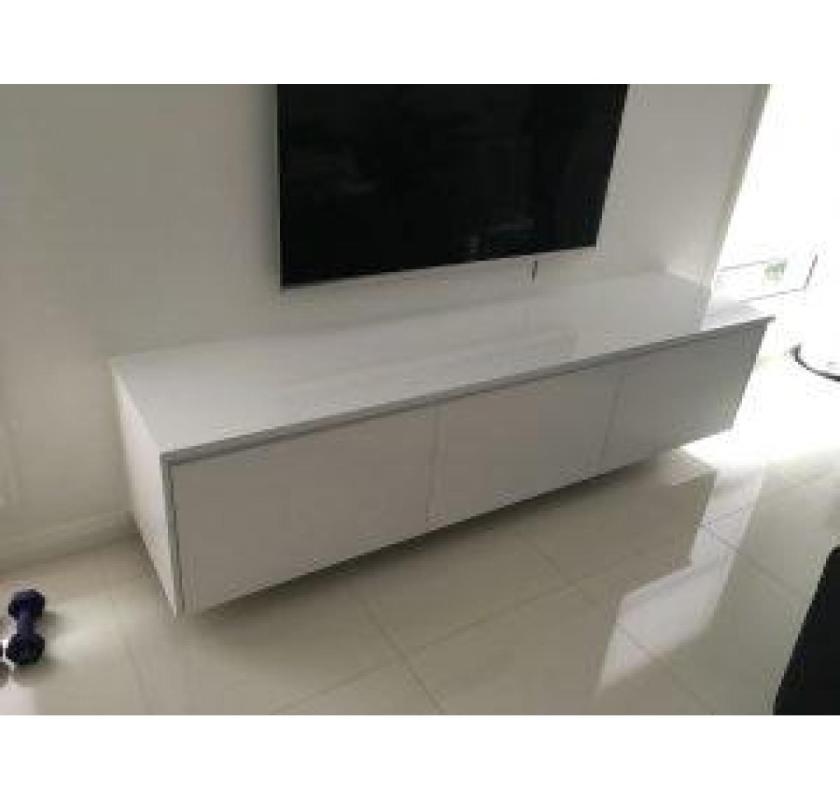
 Creative Joinery & Kitchens
Friday 03:02
Creative Joinery & Kitchens
Friday 03:02
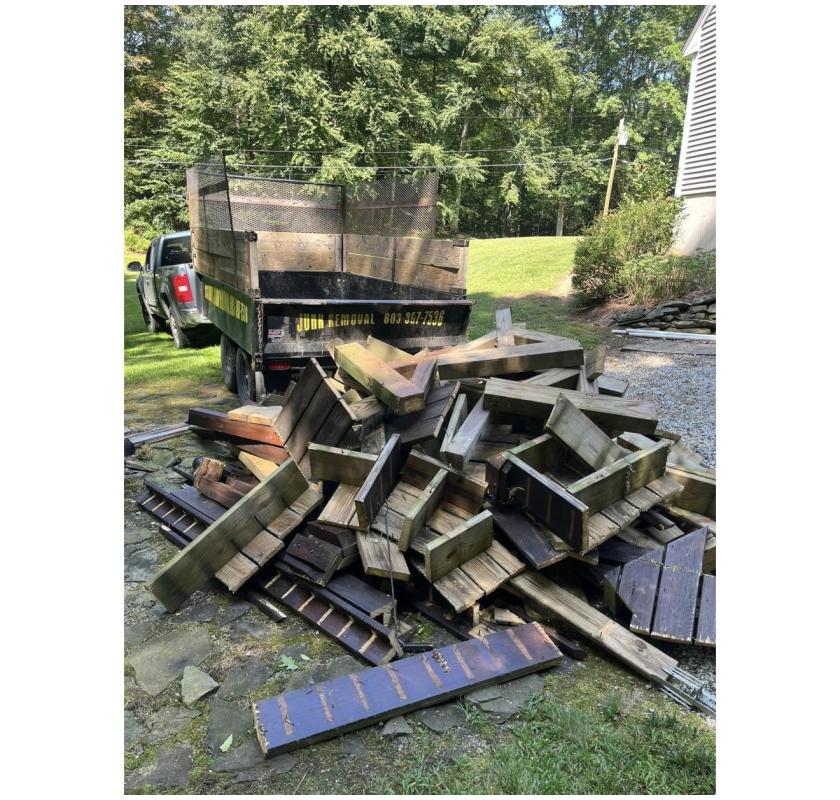
 First Removalists
Friday 00:54
First Removalists
Friday 00:54
 Charles Tree Services
Thursday 04:31
Charles Tree Services
Thursday 04:31
 Ben's Tree and Garden Services
Thursday 03:17
Ben's Tree and Garden Services
Thursday 03:17
 Alex Tree and Garden Services
Thursday 02:16
Alex Tree and Garden Services
Thursday 02:16
 Sofastore811
Thursday 01:51
Sofastore811
Thursday 01:51
 Calgary Adams
Wednesday 07:43
Calgary Adams
Wednesday 07:43
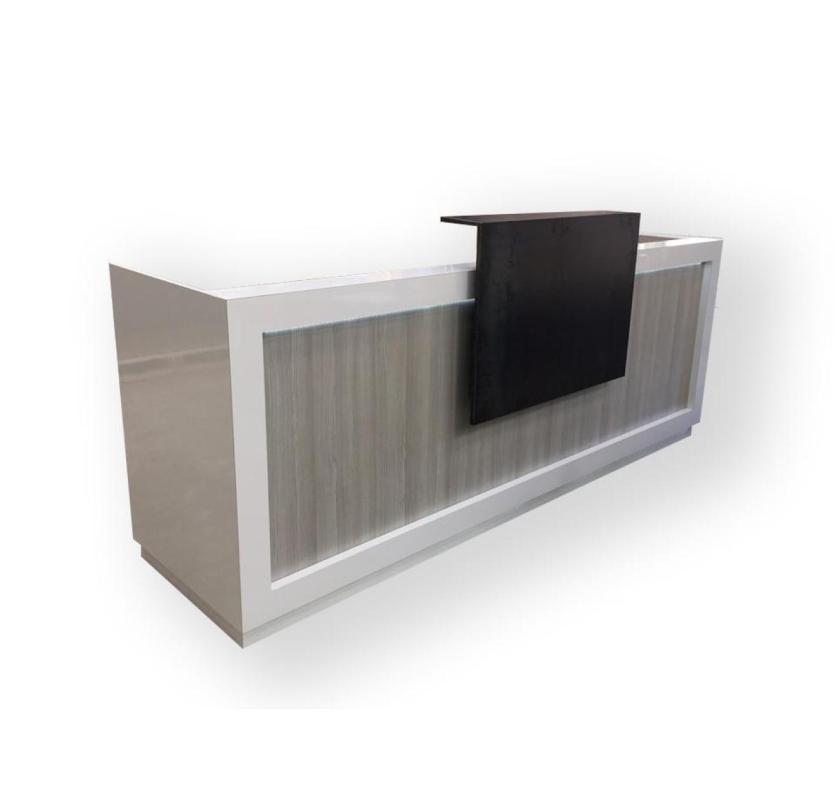
 Reception Counter Solutions
Wednesday 04:44
Reception Counter Solutions
Wednesday 04:44
 Sofastore811
Wednesday 04:06
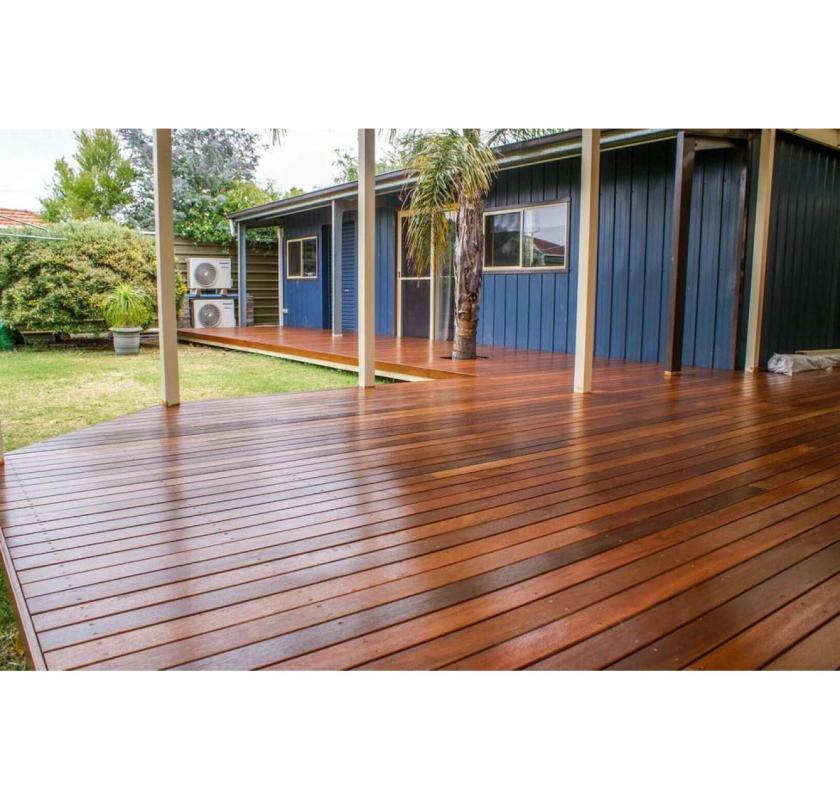
Active Landscaping Sydney
Wednesday 03:30
Sofastore811
Wednesday 04:06
Active Landscaping Sydney
Wednesday 03:30
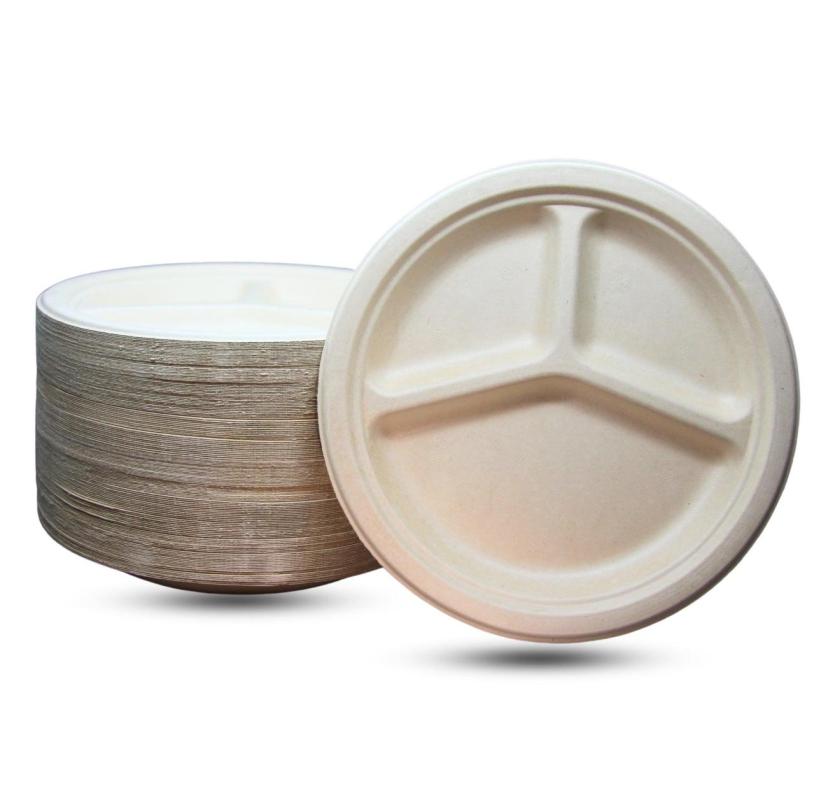
 Plant Plate
Wednesday 02:14
Plant Plate
Wednesday 02:14
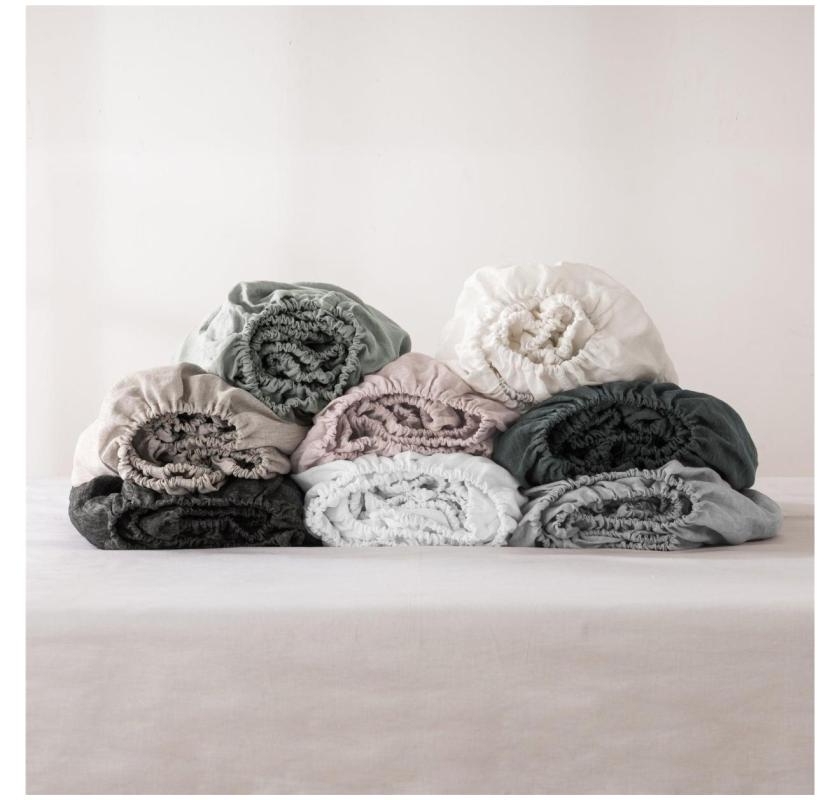
 Native Linum
Wednesday 01:48
Native Linum
Wednesday 01:48
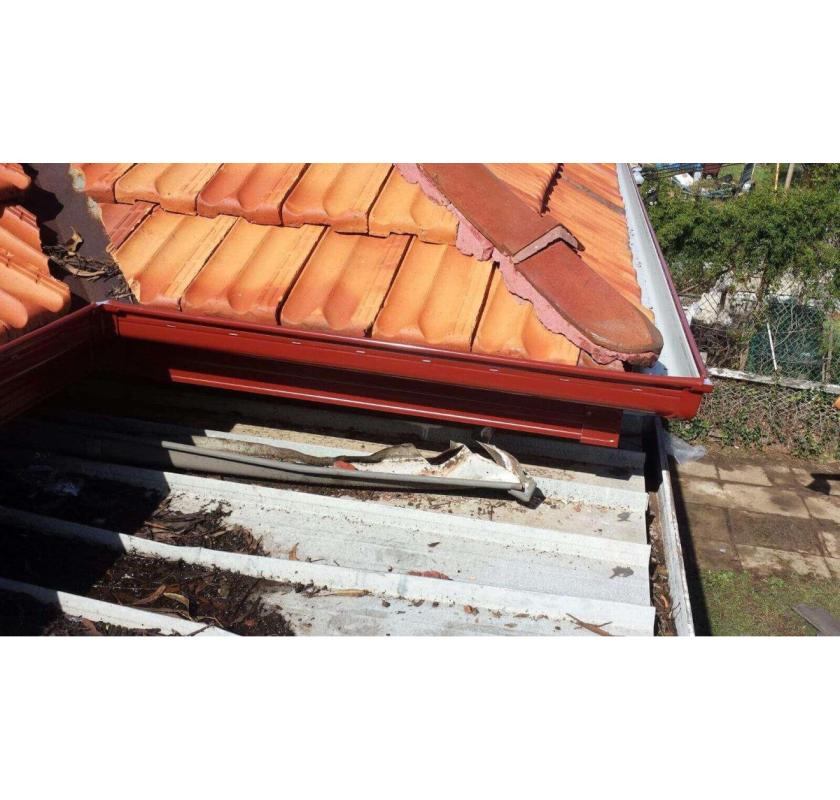
 Able Roof Restoration
Wednesday 01:12
Able Roof Restoration
Wednesday 01:12
 California Auto Rental
Tuesday 06:59
California Auto Rental
Tuesday 06:59

 Pro
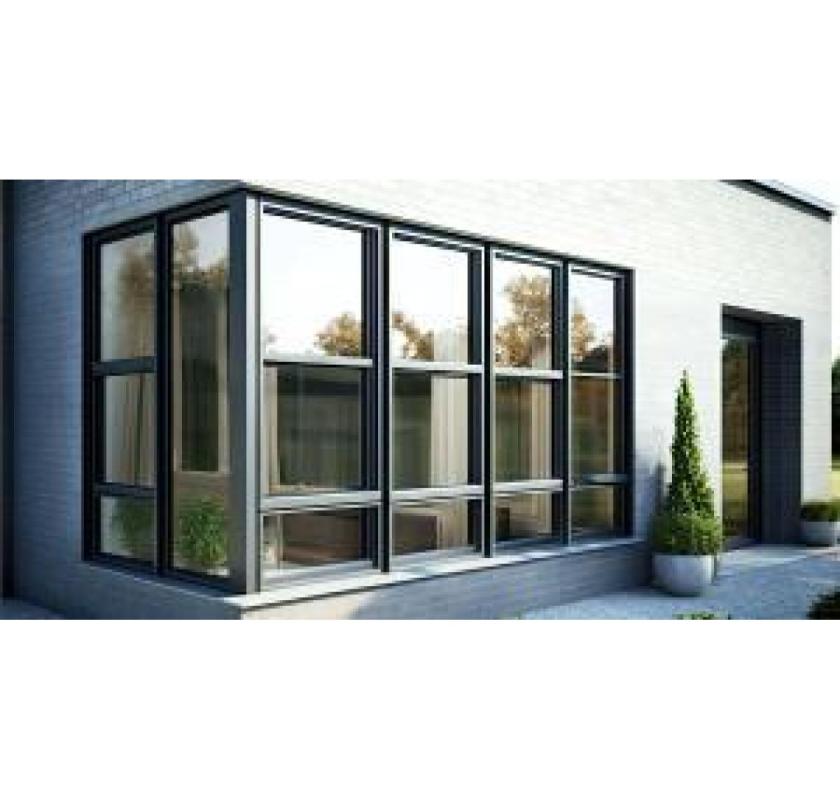
Vishvesh Glasses PVT. LTD.
Tuesday 06:07
Pro
Vishvesh Glasses PVT. LTD.
Tuesday 06:07
 Pro
Fun Food Machines
Tuesday 03:06
Pro
Fun Food Machines
Tuesday 03:06
 john David
Tuesday 02:53
john David
Tuesday 02:53
 SportBiz
Tuesday 02:46
SportBiz
Tuesday 02:46
 Pro
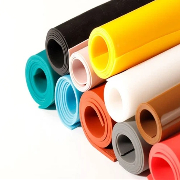
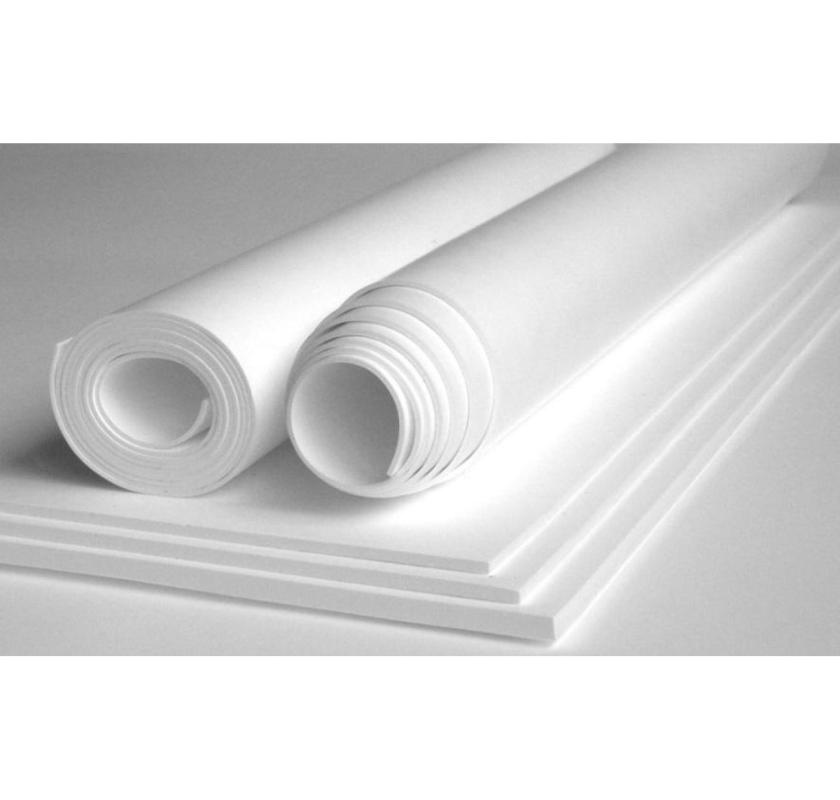
GasketMaterials
Tuesday 02:12
Pro
GasketMaterials
Tuesday 02:12
 fsdach22
3 months
fsdach22
3 months